Quick HelpDesk configuration
Once HelpDesk has been installed, you can start working with it straight away, no further configuration required. There are a couple of things you may want to set up to make your life easier, however. You can:
Connect your support mailbox to HelpDesk
There are 2 ways to connect your support mailbox to HelpDesk:
Connect Outlook mailbox. HelpDesk will convert all messages from a specific Outlook mailbox to tickets.
Forward email messages. All messages forwarded from a mailbox to the autogenerated HelpDesk mailbox create tickets.
We’ll describe how to configure HelpDesk to work with Outlook mailboxes. Alternatively, check out the forwarding instructions.
You can configure HelpDesk to work with Outlook mailboxes. HelpDesk will create new tickets from email messages and send email notifications.
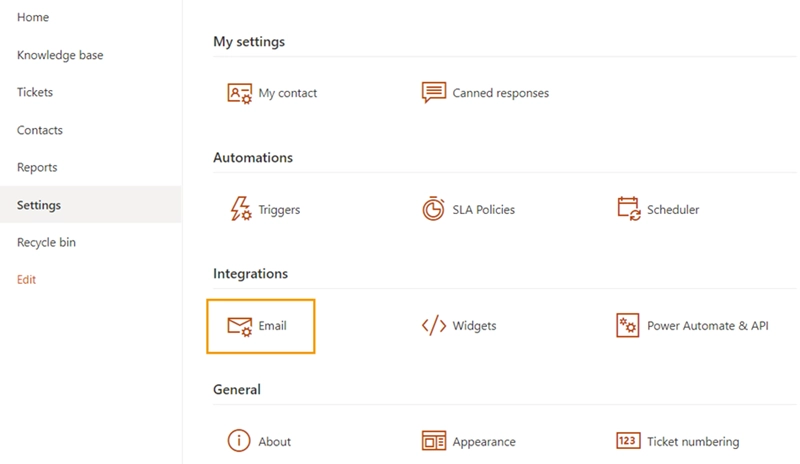
Navigate to Email settings section on the Settings page.
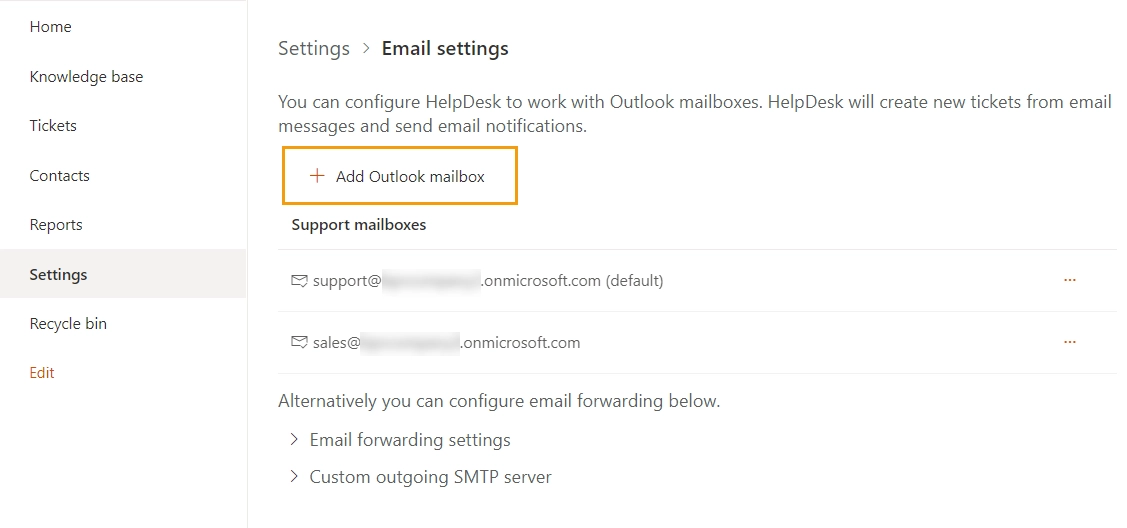
Click on Add Outlook mailbox button.
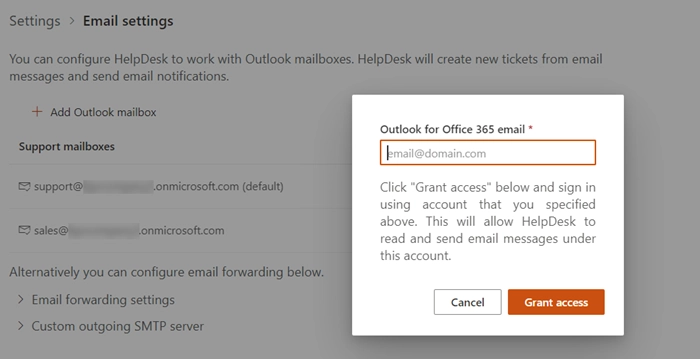
You’ll see a pop-up window. Enter the Outlook email address, click Grant access button and sign in using account that you specified. This will allow HelpDesk to read and send email messages under this account.
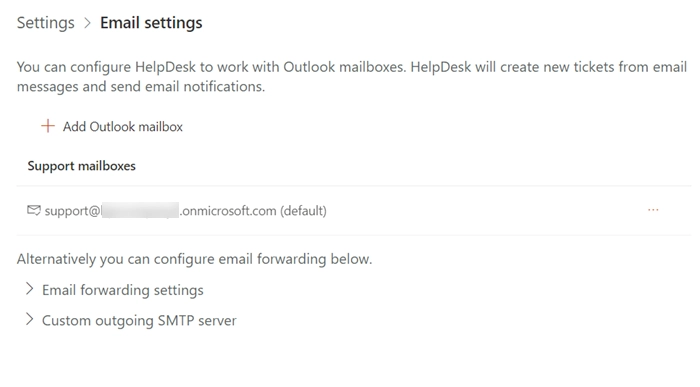
This is how the email settings look after adding a mailbox.
Create agents
HelpDesk has a place for storing contact details of your customers or agents. There are three types of contacts:
- Agent
SharePoint user that processes tickets.
- Member
SharePoint user that creates tickets.
- End-User
User without a SharePoint account that creates tickets by email.
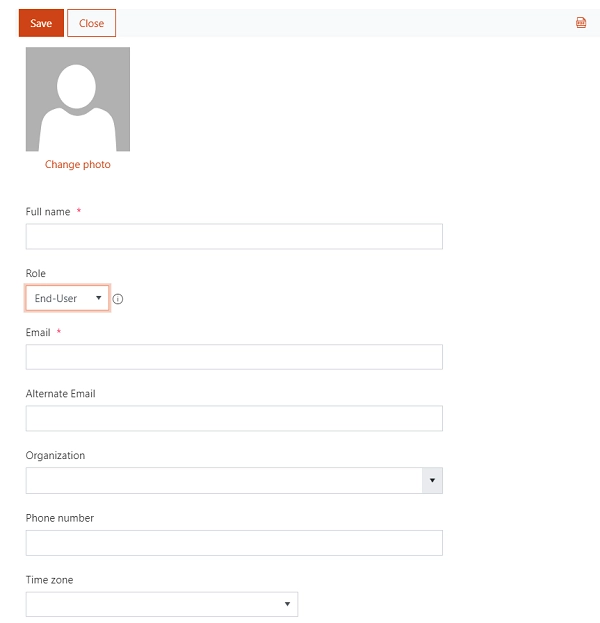
End-Users and Members are created automatically, when a new ticket is created or when a user visits help desk for the first time. The only case when you need to do something manually is when you create a new agent or convert an existing contact to an agent by changing his role. Once you created an agent, you can start receiving notifications about new unassigned tickets.
To create a new contact, navigate to Contacts using left navbar. Then click on Add new item, specify mandatory fields and submit the form:
Place widget for requesters
HelpDesk Widget is a tool for requesters for managing their tickets. This widget helps you to provide support exactly where it is needed — widget can be added either on your SharePoint site or any external site. Click here to read more. Notice that adding a widget is optional.